Have you ever wanted to make your own candles at home? The warm, soothing glow of a scented candle can bring a peaceful ambiance to any room. Whether it’s for relaxation, decoration, or even a personalized gift, making candles can be a satisfying and enjoyable craft. Many people don’t realize how easy it is to create their own natural candles, free of harsh chemicals. With just a few ingredients, you can make beautiful candles that are good for both your home and the environment.
In this blog, we will share everything you need to know to create your own natural scented candles at home. From choosing the right ingredients to adding your favorite scents, we’ll guide you step-by-step to ensure you have a wonderful candle-making experience.
Benefits of Making Your Own Candles
When you make your own candles, you have complete control over the ingredients. Many store-bought candles can contain synthetic fragrances and chemicals that are not great for your health. By crafting your own candles, you can decide what goes into them, ensuring they are free of any unwanted additives. Plus, making candles is fun, creative, and allows you to explore different scents and styles that match your personal preferences.
Homemade candles also make great gifts. Imagine giving a friend or family member a handmade scented candle with their favorite aroma. It’s a thoughtful and personalized gift that shows you care. Additionally, making your own candles can be much more cost-effective compared to buying high-end natural candles from stores.
Choosing the Right Wax

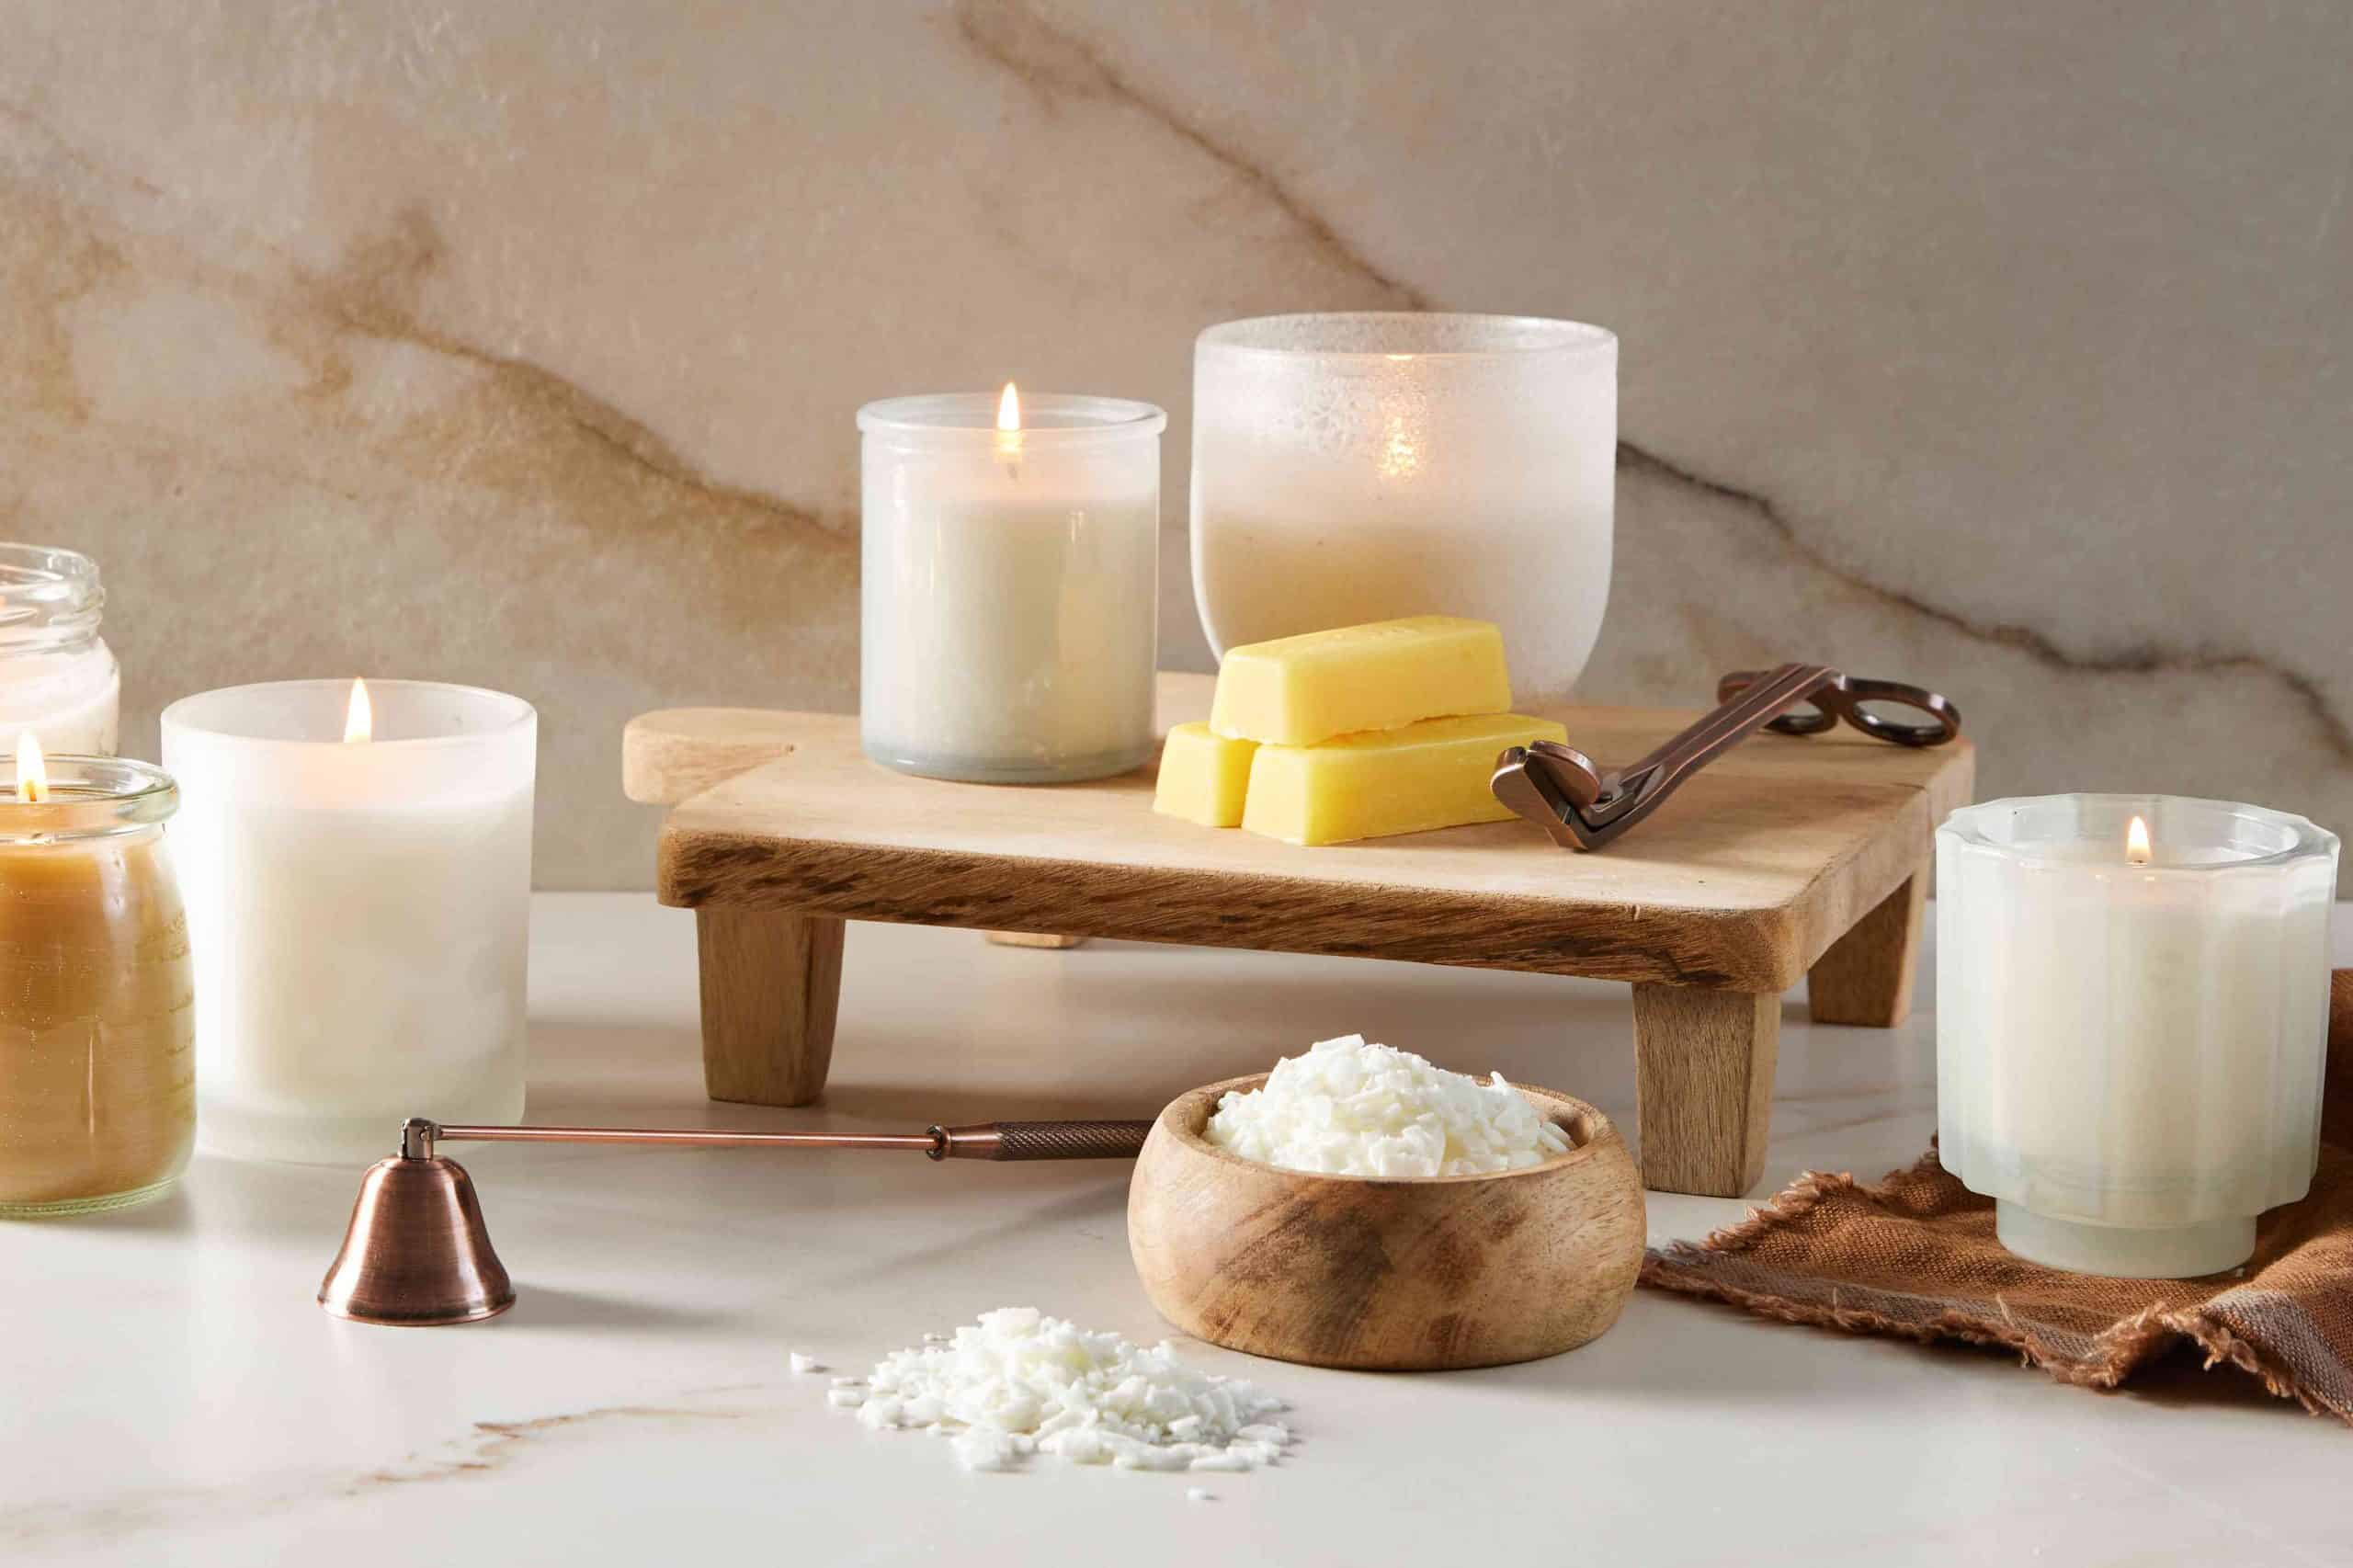
The type of wax you use is key to making natural candles. There are several options available, but beeswax is one of the most popular choices. It is a natural wax that burns cleanly, and it has been used in candle-making for centuries.
This wax is known for producing a bright, warm light without releasing any harmful chemicals. Another benefit is that it emits a subtle, natural honey scent, which can create a cozy atmosphere even before adding any essential oils.
Gathering the Supplies
To make your candles, you will need a few basic supplies. This includes wax, wicks, a double boiler, essential oils for fragrance, and containers to hold your candles. Jars, teacups, or even tin cans can make great containers, giving your candles a unique look. Make sure to choose heat-resistant containers to avoid any accidents.
You will also need a thermometer to monitor the temperature of your melted wax. Temperature is important in candle-making because it ensures your wax blends well with the fragrance oils and sets properly. Wooden skewers or clothespins can be used to hold the wick in place while the wax hardens.
Melting the Wax
Start by melting the wax in a double boiler. In case you don’t own a double boiler, you can use a heatproof bowl over a pot of simmering water. It’s important not to melt the wax directly on the stove, as it can easily overheat and become dangerous. Keep an eye on the temperature of the wax, and aim to melt it to around 170-180°F.
Once the wax melts, take it off from the heat. This is the time to add your fragrance. If you are using essential oils, add about 20-30 drops per cup of wax, depending on how strong you want the scent to be. Stir the mixture thoroughly to combine the fragrance with the wax evenly.
Preparing the Wick and Container

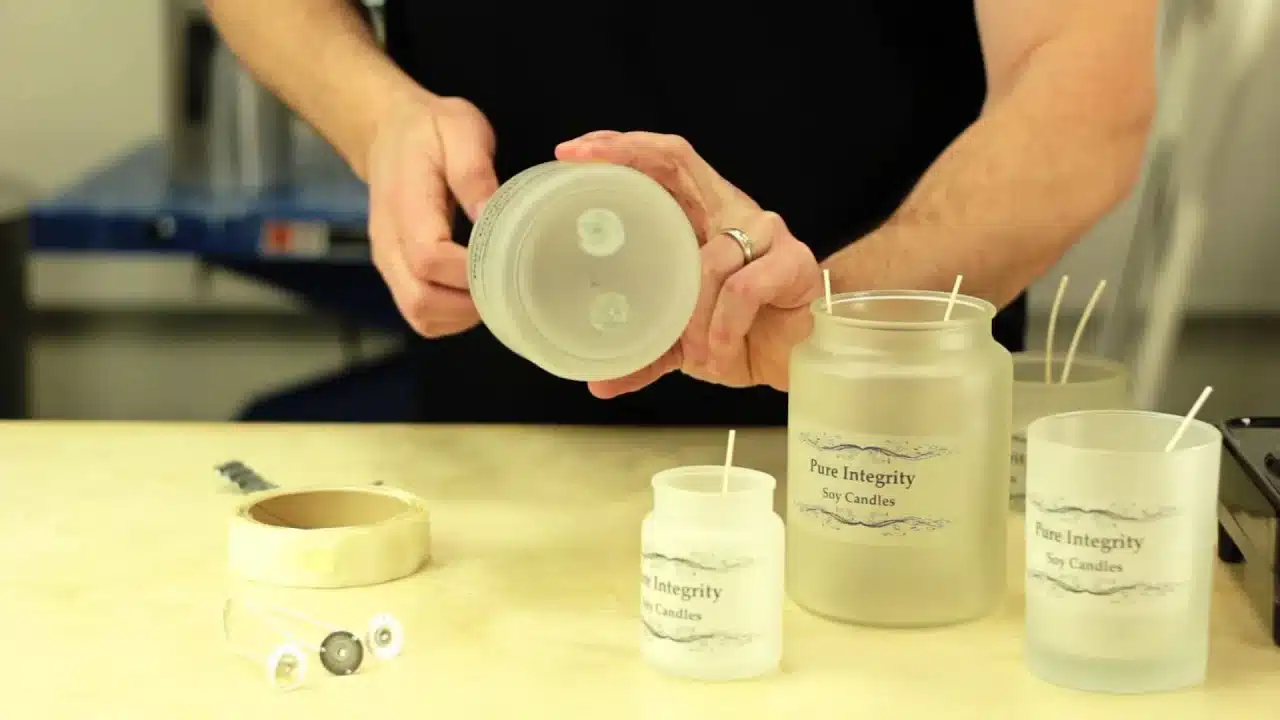
While your wax is melting, you can prepare your container and wick. Attach the wick to the bottom of your container using a small dot of wick stickers or hot glue. Make sure the wick is centered so that the candle burns evenly. Use a clothespin or a wooden skewer to keep the wick upright and in place.
When your container is ready and your wax is scented, you can gradually pour the melted wax into the container. Pour slowly to avoid creating air bubbles. Make sure to leave a little bit of space at the top of the container, and hold the wick in the center as the wax begins to set.
Letting the Candle Set
After you have poured the wax, it will need time to cool and set. This process can take a few hours, depending on the size of the candle. It’s best to let the candle cool at room temperature. Avoid moving the container while the wax is still soft, as this can cause the wax to set unevenly.
Once the candle is completely cool, you can trim the wick to about half an inch. A shorter wick helps your candle burn more evenly and prevents large flames or smoke. Now, your homemade natural candle is ready to use or gift!
Adding Personal Touches
One of the best parts about making your own candles is the ability to personalize them. You can experiment with different essential oils to create your favorite scent combinations. For example, lavender and vanilla make a relaxing blend, while lemon and eucalyptus can create a refreshing and invigorating aroma.
You could also decorate the containers to make them more special. Consider wrapping the jar in twine, adding a label, or painting the outside of the container. Adding dried flowers or herbs can also make your candle look beautiful and unique.
Enjoying Your Homemade Candles
Once your candles are ready, it’s time to enjoy the cozy atmosphere they create. Light your candle during a relaxing bath, while reading a book, or to add a touch of warmth to any room. Homemade candles are not just a source of light; they are a way to bring peace and comfort into your home.
Making candles can also become a fun activity to do with friends or family. It’s a great way to spend time together while creating something beautiful and useful. The process of making candles is calming in itself, and the result is something you can enjoy for days to come.
In conclusion, making your own natural candles at home is a rewarding experience. It allows you to have full control over the ingredients, scents, and appearance of your candles, ensuring they are free from unwanted chemicals. Plus, it’s a creative way to relax and enjoy some time crafting something meaningful. Whether you’re making them for yourself or as a gift, homemade candles are a wonderful way to add warmth and a personal touch to your space.


