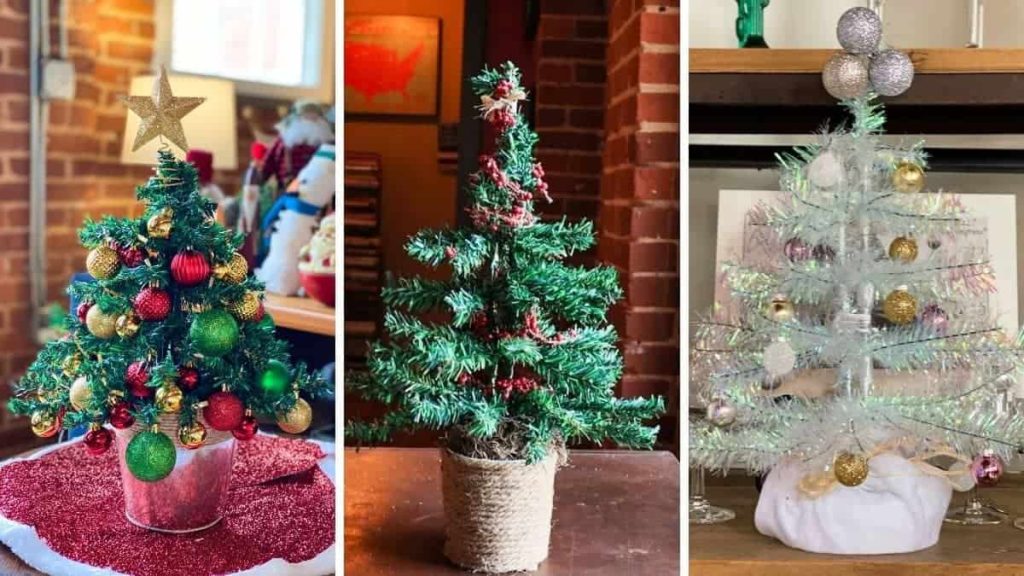
Suppose you want to bring the holiday spirit into your home without spending too much money. You can create a budget-friendly dollar tree Christmas tree DIY decoration using affordable materials from your local tree store.
Christmas is a time for joy and being with loved ones, but it can also be expensive. Between buying gifts and preparing meals, saving money on decorations is a smart choice. That’s where this craft project comes in: easy to use. You don’t have to be a crafting expert to do this.
We’ll provide step-by-step instructions that anyone, including beginners and kids, can follow to make a beautiful Christmas tree ornament. It’s a fun activity for the whole family to enjoy together. So, be ready to let your creativity shine and add some holiday cheer to your home. With this, you’ll have an attractive and budget-friendly Christmas tree decoration.
Let’s start and change your Dollar Tree purchases into a festive masterpiece!
What is a DIY Dollar Tree Christmas Tree?
A Dollar Tree Christmas tree DIY is a delightful and budget-friendly craft project that allows you to create a festive holiday decoration using affordable materials from the Dollar Tree store. This creative activity is great for anyone looking to bring some holiday cheer into their home without spending too much money.
How to Make the DIY Dollar Tree Christmas Tree
Step 1: Get Two Dollar Tree Christmas Trees
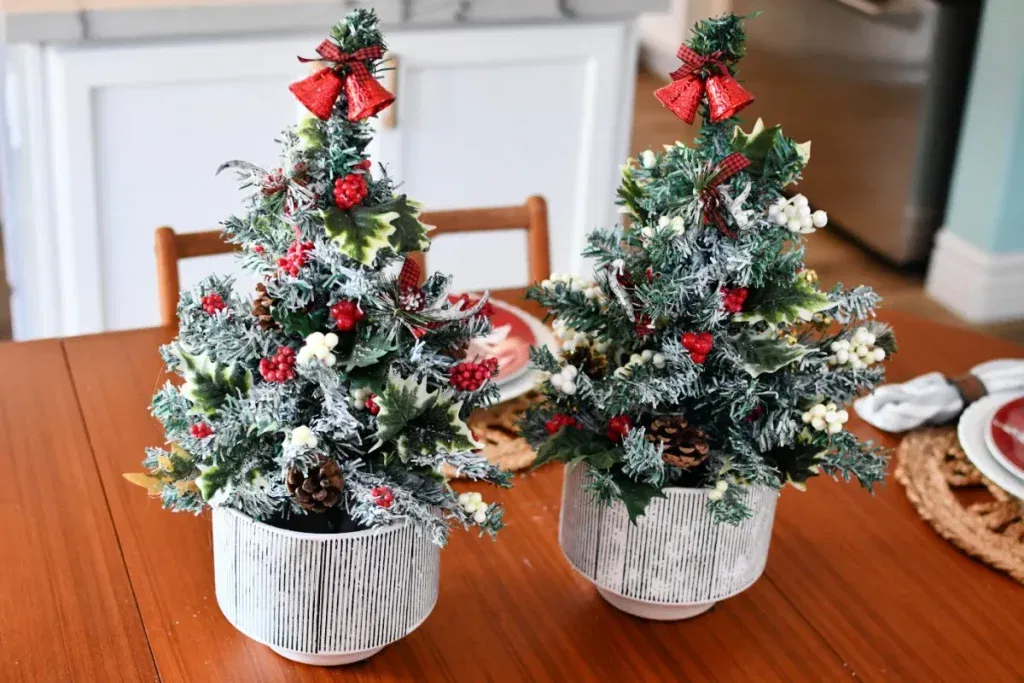
To start your Dollar Tree Christmas tree DIY project, go to your local Dollar Tree store. There, you’ll find many cheap artificial Christmas trees. Pick two small trees of the same height so your final project looks balanced and even. Dollar Tree has different tree styles, like green and snowy, so you can pick the one that fits your holiday theme.
These trees usually come with LED lights already on them, which makes your project sparkle. When you choose your trees, ensure the branches are sturdy and attached well to the base because you’ll need them to be strong for the next crafting step.
Step 2: Tie Them Together

Now that you have two Dollar Tree Christmas trees, let’s combine them into one bigger tree. You’ll need either zip ties or a strong, see-through fishing line for this. Start by putting the two trees next to each other, ensuring they’re lined up at the bottom and that the tops touch so they look like one tree.
Then, carefully tie the trees together using your chosen material. Begin at the top and work your way down, attaching them at different points along their height. This will help keep your dollar tree Christmas tree DIY looking full and in the right shape.
Be sure not to tie too tightly so you don’t harm the branches or lights. After successfully tying the trees together, you can fluff out the branches and arrange them how you want. This is your chance to get creative and decorate the tree with ornaments, ribbons, or a tree topper.
Step 3: Put Foam in a Bucket and Insert the Trees

To keep your dollar tree Christmas tree DIY steady and ready to show off, you’ll want a sturdy container or bucket. A smart and money-saving choice is to grab a big, fancy bucket from the Dollar Tree store itself. Put a chunk of flowery foam or Styrofoam inside the bucket.
This foam helps the tree stay put and lets you easily stand up your Christmas trees. Once the foam is in place, gently stick the bottom of your tied-together Dollar Tree Christmas trees into it. Make sure they’re right in the middle and warm in the foam. This stops them from moving side to side and keeps your tree standing tall all holiday long.
Step 4: Arrange the Branches to Look Like a Real Tree
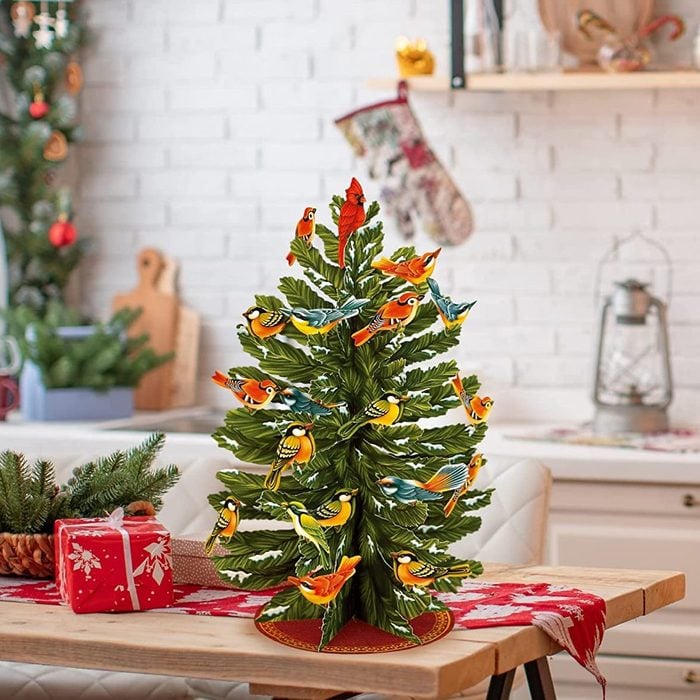
Now that your trees are securely in place, it’s time to make them look natural and full. Start by gently separating and spreading out the branches, starting from the bottom and working your way up. Arrange the branches to look balanced and symmetrical, just like a real Christmas tree. Take your time with this step because how your tree turns out depends on how carefully you shape the branches.
You can also bend and adjust the branches to fill in any gaps or spaces so your tree looks bright and realistic. This step lets you customize the tree’s shape to fit perfectly in your chosen spot.
Step 5: Hang Ornaments on Top

Now, it’s time to have fun decorating your dollar tree Christmas tree DIY. First, hang your favorite ornaments on the tree. Dollar Tree usually has inexpensive and cute holiday decorations like ornaments, tinsel, and garlands.
Start with the bigger ornaments at the bottom and then move up to the smaller ones. This way, your tree will look nice and balanced. And don’t forget to put a tree topper on it, like a star, angel, or another festive decoration that makes your tree look fantastic.
Material Needed for Dollar Tree Christmas Tree DIY
- Silver Decorative Mesh
- Mini Dollar Tree Christmas Trees
- Feather Boas
- Wire Tree Forms
- Floral Block
- Dollar Tree Bucket
- Hot Glue Sticks
- Star for the Top of Tree
- LED String Lights
- Dollar Tree Ornaments
- Hot Glue Gun
- Ribbon to tie ornaments
- Glittery Berries and Gold Berries
Some Dollar Tree Christmas Tree DIY Crafts You Can Use
1. Dollar Tree Snowball Wreath
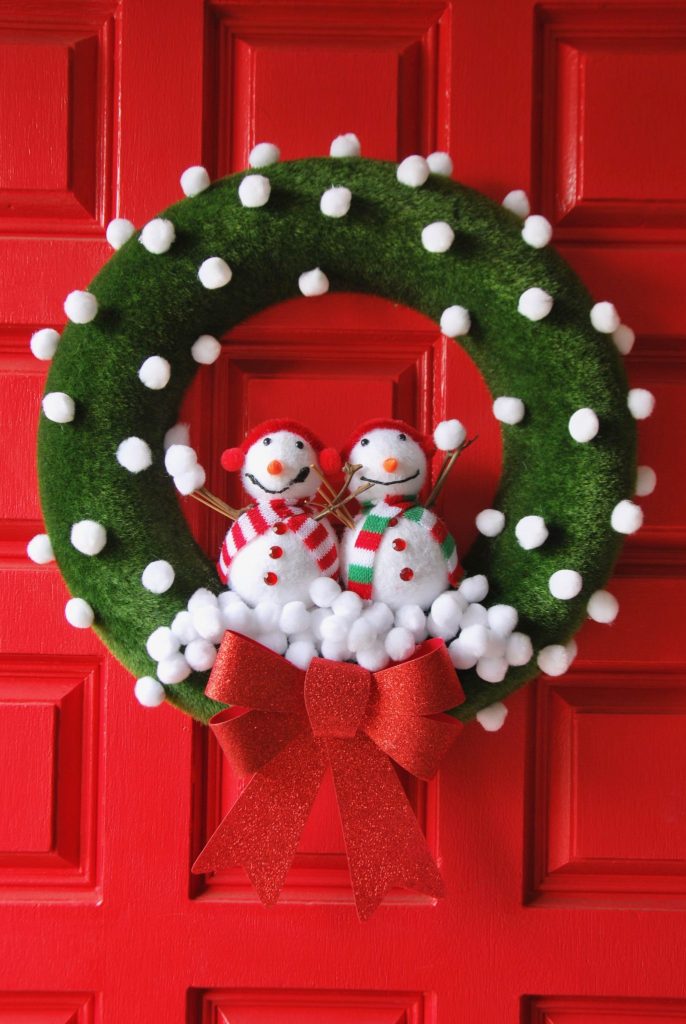
A delightful Dollar Tree Snowball Wreath is a fun and affordable way to get into the holiday spirit. You can easily make this festive decoration using a few items from your local Dollar Tree store. Start with a foam wreath form from Dollar Tree Christmas Tree DIY, which you can find there. Then, get a bag of their fluffy white faux snowballs. These snowballs will be the main focus of your wreath.
To make the wreath, use hot glue to attach the snowballs to the foam wreath form, covering it completely. You can arrange them in any pattern you like, but a symmetrical design usually works well for a traditional wreath look. Once you’re happy with the placement of the snowballs, add any extra decorations you’ve chosen, like ornaments or ribbon bows. The best part is that you can customize this craft to match your style.
2. Dollar Tree Ornament Bouquet

Making a beautiful Dollar Tree Ornament Bouquet is a fun and affordable way to add a touch of grace to your holiday celebrations. This do-it-yourself project is super simple and produces stunning results. You’ll only need a foam ball, some floral wire, and a vase or container of your choice. Place the foam ball securely in the vase or container as the base for your ornament bouquet. Then, take the floral wire and attach one end to the top of an ornament, leaving a long piece of wire hanging down.
Repeat this step with several ornaments, using different colors and sizes to make it look balanced. Not only is the Dollar Tree Ornament Bouquet a budget-friendly way to decorate your home for the holidays, but it can also make a lovely gift or serve as a beautiful centerpiece for your holiday gatherings.
3. Christmas Tree Holiday Card Display

Here’s a delightful idea for a Christmas craft using Dollar Tree items: make a Christmas Tree Holiday Card Display. It’s a fun project that also helps you show off the lovely holiday cards you get from family and friends. To do this, you’ll need a foam cone, green tinsel garland, small clothespins, and some pretty ornaments, all found at Dollar Tree.
First, cover the foam cone with the green garland and glue it in place. Then, attach the mini clothespins evenly around the tree. When you receive holiday cards, clip them onto the clothespins and see your Christmas tree fill up with warm wishes and festive greetings.
4. Dollar Tree Bottlebrush Wreath
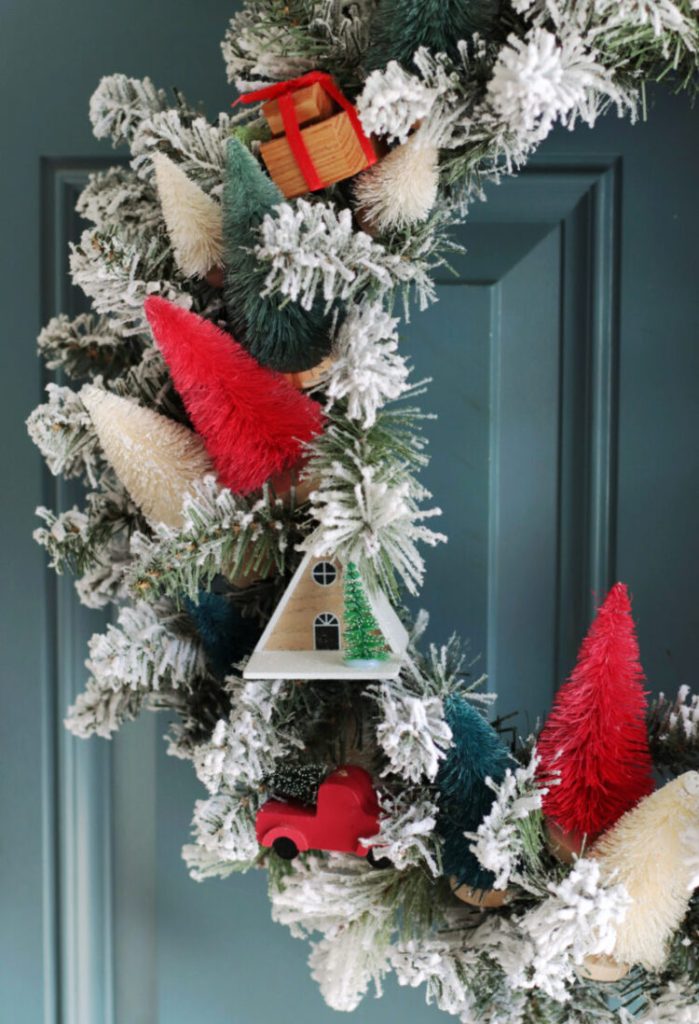
Create a beautiful Christmas wreath using Dollar Tree’s bottlebrush trees. You can hang it on your front door or anywhere inside your home. To make it, you’ll need bottlebrush trees in different sizes, a wire wreath frame, and some hot glue from Dollar Tree. Start by taking the bottlebrush trees off their bases and cutting their stems to the right length.
Then, use hot glue to stick them evenly onto the wire wreath frame. If you like, you can decorate your wreath with ornaments, bows, or a pretty ribbon. This dollar tree Christmas tree DIY not only saves you money but also adds a special and festive touch to your holiday decorations.
5. Dollar Tree Christmas Frame
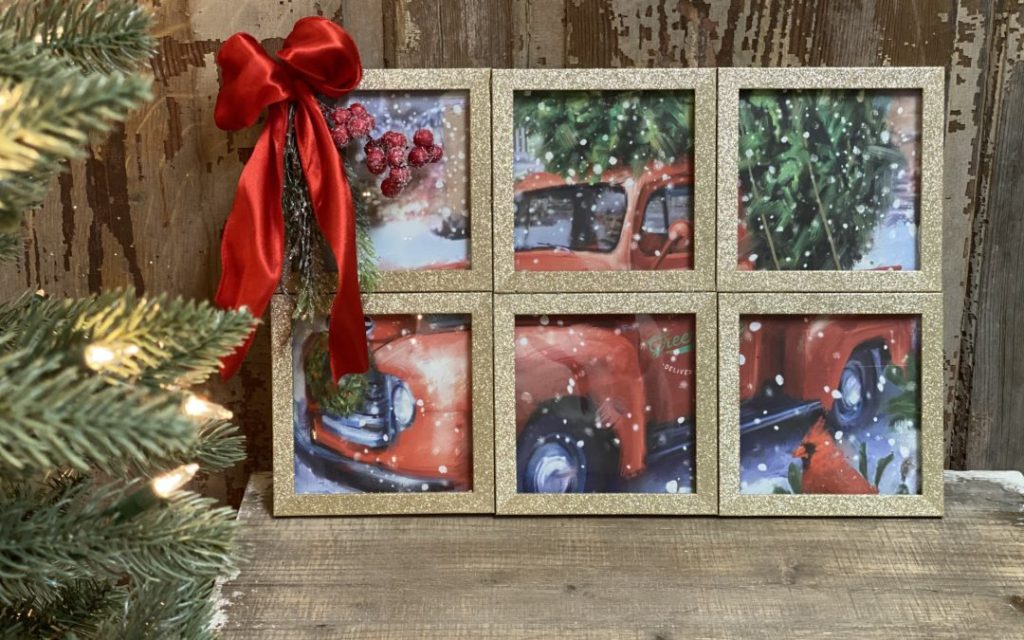
To add a personal touch to your holiday decorations, try making a Dollar Tree Christmas Frame. This project is great for showing off your favorite holiday pictures or making your festive art. All you need is a wooden frame, some acrylic paint, brushes, and holiday stickers from Dollar Tree. First, paint the wooden frame in your favorite holiday colors and let it dry completely.
When it’s dry, stick on the holiday stickers in a fun pattern. Then, put your favorite holiday photo or artwork in the frame, and you’re done! Now, you have a special Christmas frame that makes your decorations feel even cozier and more personal.
Benefits of DIY Dollar Tree Christmas Tree Craft

Creating your own Christmas decorations can be an enjoyable and budget-friendly tree, especially when you turn to the DIY Dollar Tree Christmas Tree Craft.
Here are some reasons why this craft project is worth trying:
1. Cost-Effective Festivity: The Dollar Tree store offers affordable materials, allowing you to craft a fascinating Christmas tree without breaking the bank. It’s perfect for those on a tight budget.
2. Creative Expression: This DIY project provides a canvas for your creativity. You can personalize your Christmas tree with various ornaments, colors, and themes, making it uniquely yours.
3. Family Bonding: Crafting a Dollar Tree Christmas tree is an excellent way to bond with family members. Invite your kids or loved ones to enjoy the fun during the holiday season.
4. Eco-Friendly Approach: Using inexpensive, reusable materials from Dollar Tree is environmentally friendly. You can reduce waste by upcycling items and giving them a second life as festive decorations.
5. Quick and Easy: The simplicity of this craft ensures that it’s accessible to all skill levels. Whether you’re a seasoned crafter or a beginner, you can create a lovely Christmas tree in no time.
Conclusion
Crafting your own dollar tree Christmas tree DIY is an easy and cost-effective way to improve your decorations. Using affordable materials from your nearby Dollar Tree store, you can fashion an attractive and unique Christmas tree that will light up your home. This creative DIY lets you express your rare style by making your tree as per your preferences. Whether you favor classic red and green ornaments or a more modern appearance, the options are limitless.
Not only is DIYing your Christmas tree enjoyable, but it also saves you money, allowing you to create a stunning centerpiece for your holiday activities without breaking your finances. This do-it-yourself project provides an excellent opportunity for quality family bonding time. Gather your loved ones of all ages and get together to make your Christmas tree extraordinary.
So, give it a try. These dollar tree Christmas tree DIY crafts are an excellent way to get the holiday spirit while sticking to your budget.
Frequently Asked Questions
What are Some Creative Ideas for Decorating My Dollar Tree Christmas Tree DIY?
You can get creative by using different color schemes and themes or adding unique ornaments or decorations that reflect your style. Consider using faux snow, bows, pinecones, or even miniature figurines.
How Long Does It Take to Complete a DIY Dollar Tree Christmas Tree?
The time required varies based on the complexity of your design and your crafting skills. It can take anywhere from a couple of hours to an afternoon to complete the project.


