In today’s digital music industry, independent musicians have more tools than ever to connect with fans and generate revenue beyond streaming and ticket sales. Merchandising is a powerful way to strengthen your brand, provide fans with tangible products, and earn extra income. This guide will walk you through the steps for creating your own Shopify store to sell merchandise, albums, and exclusive content directly to fans.
Step 1: Set Up a Shopify Account
- Sign Up: Visit the Shopify website and sign up for a free trial. This will give you 14 days to set up your store and start exploring the platform before committing to a paid plan.
- Choose a Plan: After your trial, select a plan that best fits your needs. For most independent musicians, the Basic Shopify plan is a good start, with access to essential tools and analytics.
Step 2: Customize Your Store’s Design

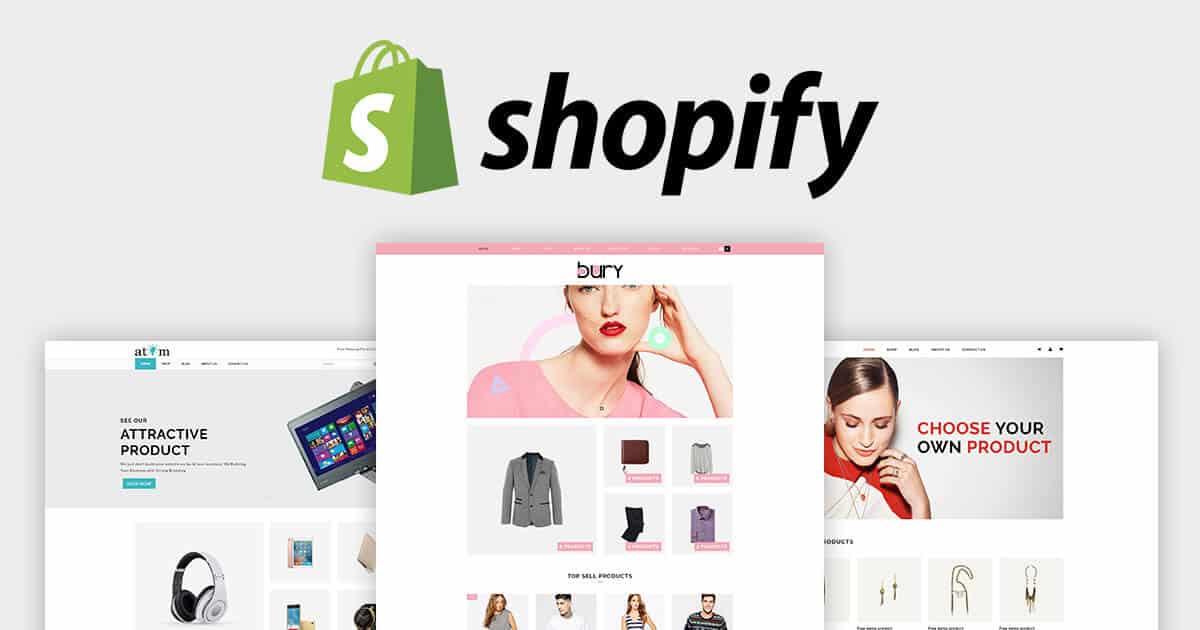
- Choose a Theme: Shopify offers a range of customizable themes, some of which are free. Pick a theme that aligns with your brand. For example, a minimalist theme could suit indie artists.
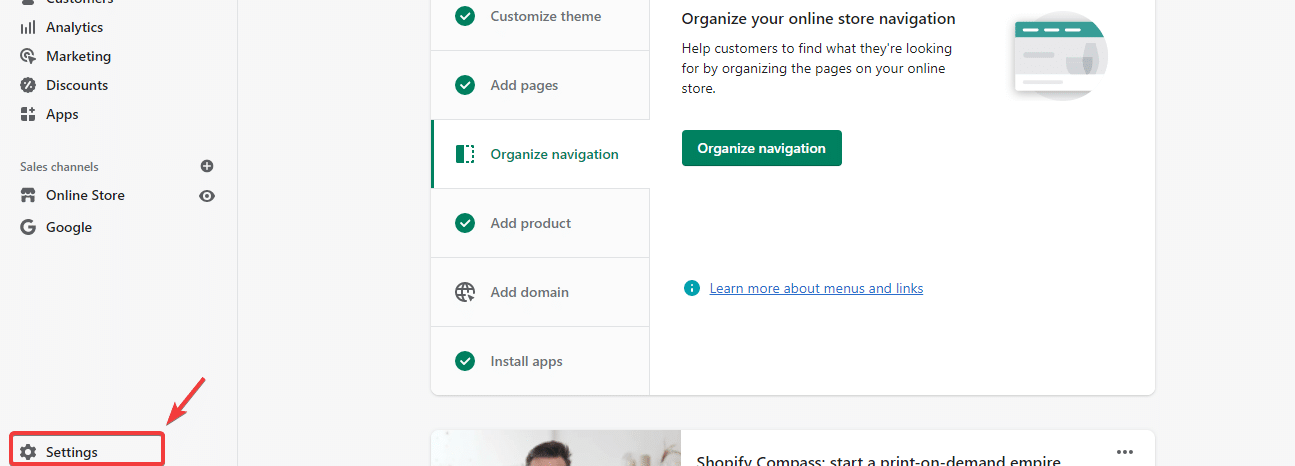
- Personalize the Layout: Use Shopify’s intuitive drag-and-drop editor to personalize your store’s look and feel. Add your logo, change colors to match your branding, and set up the navigation menu.
- Add Pages and Menu Items: Create essential pages, such as “About”, “Contact”, and “Store”. You might also consider a “Merch” page specifically for T-shirts, hoodies, and accessories, as well as an “Albums” page for physical or digital music sales.
Step 3: Add Products
- Product Listings: Go to the Shopify dashboard, click “Products,” and start adding items. Fill in product descriptions that reflect your brand’s voice.
- Photos and Videos: Use high-quality images and videos to showcase your products. Shopify allows you to upload multiple images for each product, so be sure to include various angles.
- Pricing and Inventory: Set prices based on production costs and profit margins, but remember to stay accessible to fans. Shopify allows you to track inventory so that you’ll always know what’s in stock.
- Digital Products and Bundles: You can also add digital products, such as downloadable albums or bonus tracks. Consider bundling merchandise with digital downloads to create value for fans.
Step 4: Set Up Payment and Shipping Options

- Payment Gateway: Shopify supports multiple payment gateways, including Shopify Payments, PayPal, and various credit card options.
- Shipping Setup: Go to the “Shipping and delivery” settings in Shopify to define your shipping zones, rates, and policies. If you’re selling physical items, consider offering free shipping for orders over a certain amount.
- Taxes and Legal Compliance: Make sure you’re charging the correct taxes for your region. Shopify has tools to help you set this up, and it’s crucial to stay compliant with local tax laws.
Step 5: Set Up Shopify Email to Reach Fans
According to Statista, email marketing revenue worldwide is expected to reach $17.9 billion by 2027. One of the best ways to increase merchandise sales is by using email marketing to connect with fans. Shopify Email, Shopify’s built-in email marketing tool, makes it easy.
- Enable Shopify Email: Go to the Shopify App Store and add Shopify Email to your store if it’s not already enabled. This allows you to create and send promotional emails directly from your Shopify dashboard.
- Build Your List: Encourage fans to sign up for your newsletter by adding a signup form on your site. Offer incentives, like exclusive discounts or early access to new merchandise, to attract subscribers.
- Design Email Campaigns: Use Shopify Email to design visually appealing emails. You can choose from templates that are already optimized for different devices, and customize them with images, links, and calls to action.
- Engage and Promote: Send regular updates about new merchandise drops, tour dates, and exclusive content to keep your fans engaged.
Step 6: Launch and Promote Your Store

- Announce Your Store Launch: Once your Shopify store is set up, promote it on social media, in live-streams, and through your newsletter.
- Collaborate with Influencers: Partner with influencers or fellow artists in your genre to promote your merchandise. Their endorsement can introduce your store to new audiences.
- Use Social Media Ads: Platforms like Instagram and Facebook offer targeted advertising options that can help you reach fans based on their interests and location. Shopify integrates with Facebook and Instagram, making it easy to sell directly through social media.
- Leverage Shopify Analytics: Regularly check Shopify’s analytics to see what’s working and where improvements can be made. Track which products are the most popular, analyze your sales trends, and adjust your strategy accordingly.
Step 7: Keep Engaging and Expanding
Once your store is live, focus on keeping fans engaged. Offer limited-edition products, release seasonal merchandise, or provide exclusive content for dedicated fans.
By setting up a Shopify store and using tools like Shopify email setup for email marketing, independent musicians can effectively boost merchandise sales. Shopify’s user-friendly design and integrated tools make it easy for you to reach your fans and keep them coming back for more. With a bit of creativity and consistent engagement, your online store can become a profitable extension of your musical journey!


