
Want to record vocals at home but struggling with room noise and unclear sound?
Recording studio-quality vocals doesn’t require expensive gear or professional studios anymore. Music producers like Luke Mounthill Beats create instrumentals specifically for home recording, understanding that artists need their vocals to match the quality of professional beats. You can capture pristine vocals right from your home studio with the right setup and techniques.
You’ll learn:
- How to choose and set up your recording equipment
- Best microphone placement for crystal-clear sound
- Quick acoustic treatment tips for any room
- Pro recording techniques used in top studios
- Mobile recording solutions for when you’re on the go
Let’s get your vocal setup dialed in!
What Equipment Do You Need for Home Recording?
Starting a home recording setup doesn’t have to be complicated. The key is choosing the right basic equipment and setting it up correctly. Let’s break down exactly what you need to get started.
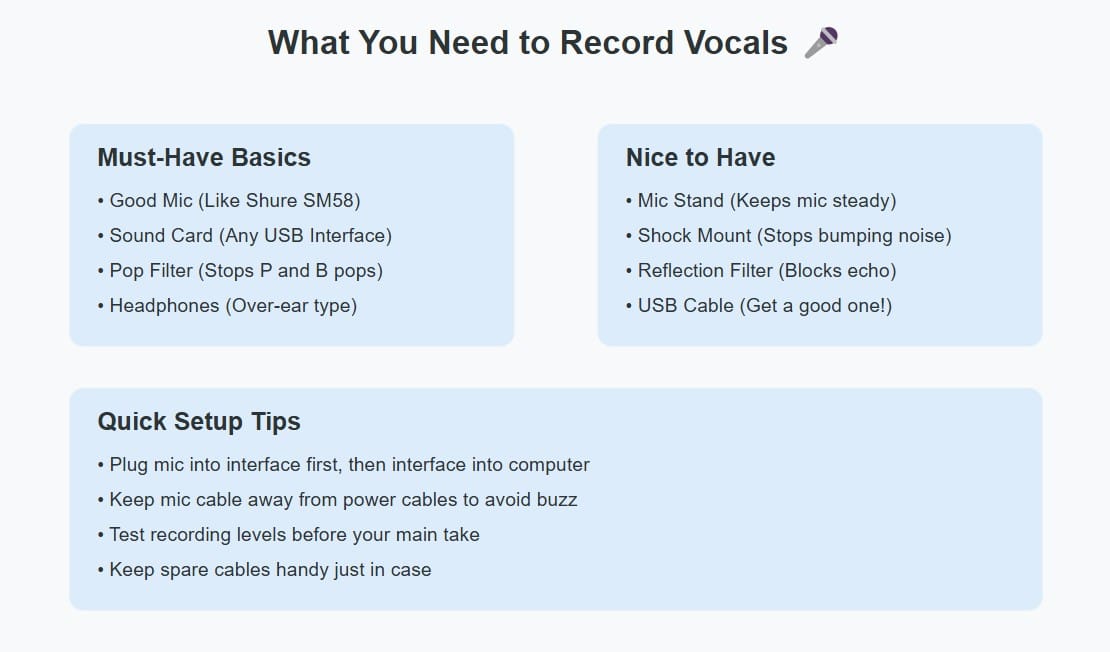
Essential Gear Checklist
First, let’s look at the must-have equipment for recording vocals at home:
- A good microphone that matches your voice and budget (more on choosing the right one later)
- An audio interface to connect your mic to your computer with clean sound
- Recording software (called a DAW) to capture and edit your vocals
Your voice deserves good equipment, but you don’t need to buy everything at once. Start with these basics and add more gear as you learn what works for you.
Here’s a closer look at each piece of equipment and what to look for:
|
Equipment |
What It Does |
What to Look For |
|---|---|---|
|
Microphone |
Captures your voice |
Clear sound, handles loud vocals |
|
Audio Interface |
Connects mic to computer |
Clean preamps, low noise |
|
DAW Software |
Records your vocals |
Easy to use, good editing tools |
Sound quality starts with your microphone choice. Many singers start with a basic condenser mic like the Shure SM58 or similar models. These mics work well for most voices and don’t cost too much.
A common mistake is buying cheap equipment to save money. It’s better to start with fewer pieces of good gear than lots of low-quality items. Quality matters most for your microphone and audio interface.
Setting Up Your Recording Space
Your recording room affects your sound as much as your equipment does. Let’s look at how to set up a space that makes your vocals sound great.
Pick a quiet room where you can control the sound. That means staying away from:
- Noisy air conditioners or heaters
- Computer fans and electronics
- Outside traffic noise
- Windows that let in street sounds
Setting up your room doesn’t need expensive acoustic treatment. Start with these simple fixes:
Put your mic in the right spot. Find the quietest corner of your room and set up there. Test different spots by recording a short vocal sample in each location. Listen back with headphones to find where your voice sounds best.
Think about what’s behind your mic too. Sound bounces off hard surfaces and can make your recording sound hollow. Try this simple test:
- Clap your hands in different spots around your room
- Listen for echoes or a “boxy” sound
- Choose the spot with the least echo for your mic
Here’s how to fix common room problems:
1. Problem: Echo in your recordings
Fix: Hang blankets on the walls or put a mattress behind you while recording
2. Problem: Background noise in quiet parts
Fix: Record late at night or early morning when it’s quietest outside
3. Problem: Bumps and rumbles in your audio
Fix: Put your mic on a stable stand and use a shock mount
Remember to keep your recording spot consistent. Mark your mic position with tape on the floor. This helps you get the same sound quality every time you record.
Cool tip: Keep water nearby when recording. Taking small sips helps keep your voice clear and prevents mouth noise that can ruin a good take.
Your room might not be perfect, but these simple setup tricks help capture cleaner vocals. Focus on controlling the sound around your mic first. You can always add better acoustic treatment later as you learn what your space needs.
Best Microphone for Vocal Recording
Let’s talk about choosing the right microphone – it’s like picking the right tool for a job. 🎤 Your mic choice can make or break your vocal recording.
Condenser vs Dynamic Mics: Which to Choose?
Think of condenser and dynamic mics as different types of cameras – each captures sound in its own way. Here’s what you need to know:
Condenser Microphones:
- Pick up more detail in your voice
- Work great for softer singing and spoken word
- Need phantom power from your audio interface
- Cost more but capture better quality
Dynamic Microphones:
- Handle loud vocals without distortion
- Work better in noisy rooms
- Don’t need extra power to work
- Usually cost less and last longer
Tip: Starting out? A dynamic mic like the Shure SM58 might be your best bet. It’s tough, reliable, and forgiving if your room isn’t perfectly quiet.
Let’s break down some real numbers to help you choose:
|
Feature |
Condenser Mic |
Dynamic Mic |
|---|---|---|
|
Price Range |
$200-1000+ |
$100-400 |
|
Sensitivity |
High (-35 dB) |
Medium (-55 dB) |
|
Max SPL |
120-130 dB |
140-150 dB |
|
Best For |
Studio recording |
Live/home recording |
If you’re trying to decide between a condenser and a dynamic microphone, this guide breaks it down for you.
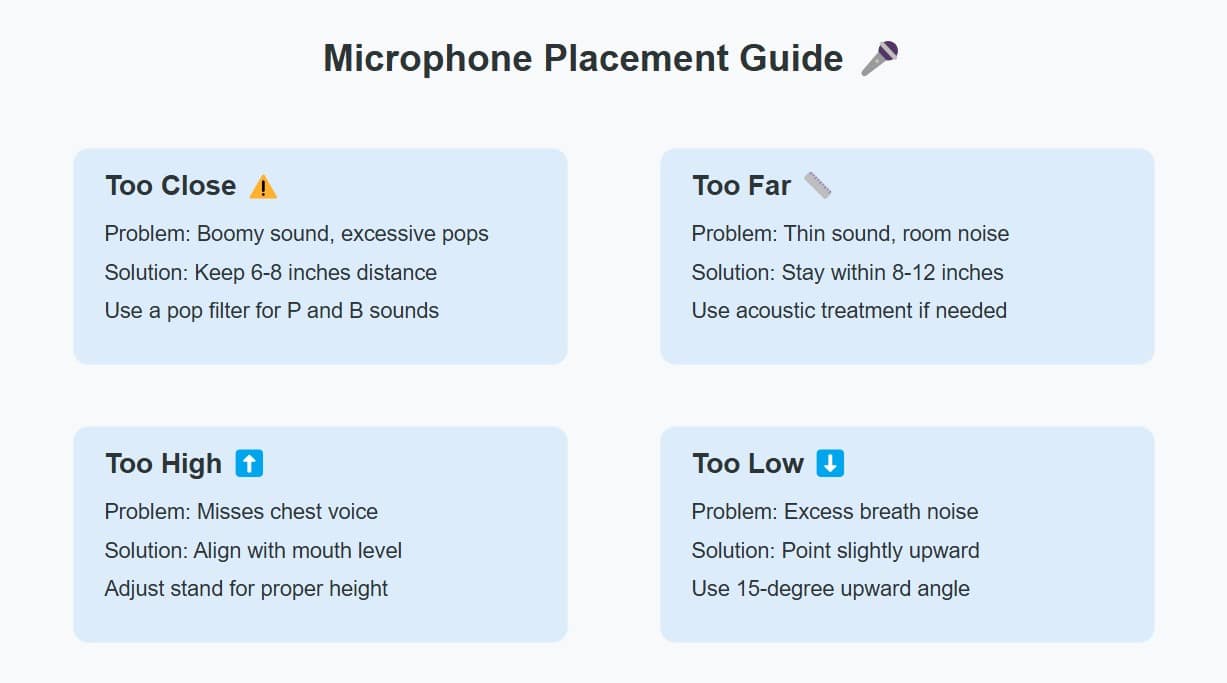
Microphone Placement Guide
Getting your mic position right can improve your sound more than an expensive mic. Here’s how to nail it:
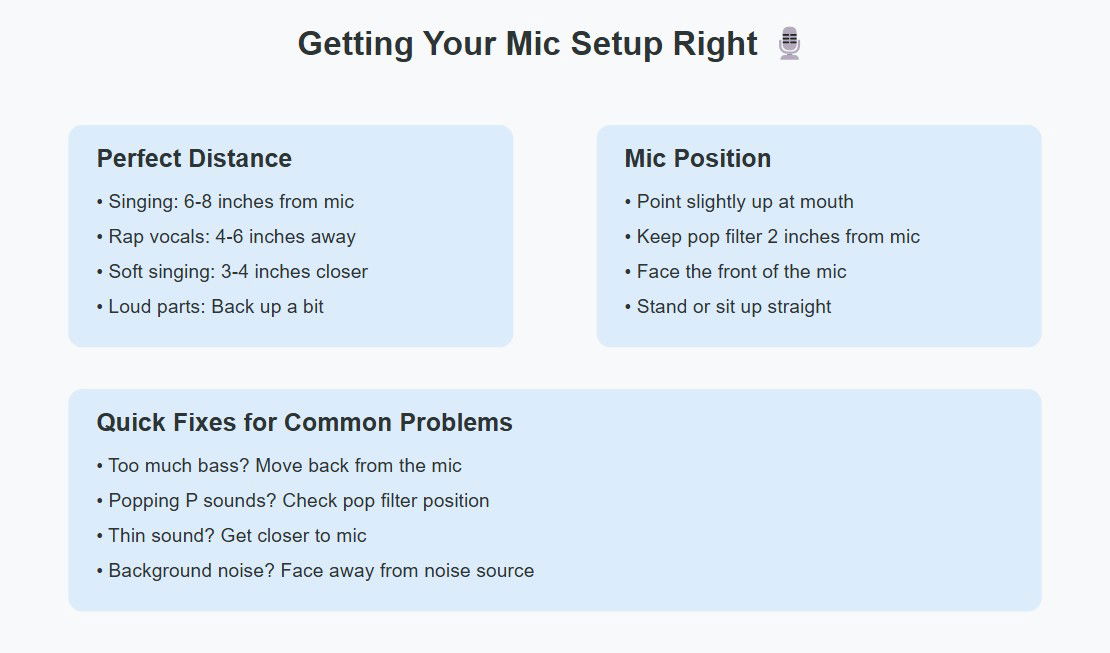
Start with these basic positions:
- Keep your mouth 6-8 inches (15-20cm) from the mic for most vocals
- Angle the mic slightly up toward your mouth
- Point the mic’s “dead side” toward any noisy equipment
Your voice changes at different distances from the mic. Try this quick test:
- Record the same line at 4, 8, and 12 inches from the mic
- Listen back with headphones
- Notice how closer means more bass (that’s called the proximity effect)
Proper mic placement also helps avoid common recording problems:
Using Pop Filters and Shock Mounts
Ever heard those annoying pops when singing words with P or B? That’s where pop filters come in handy. They’re like a shield that stops bursts of air from hitting your mic.
A good pop filter:
- Sits 2-3 inches from your mic
- Uses double-layer mesh for better protection
- Stays firmly in place while you record
But don’t stop at just a pop filter. Shock mounts prevent unwanted bumps and vibrations from reaching your mic. They work like shock absorbers on a car, keeping your audio clean when:
- Someone walks around your room
- You accidentally bump the mic stand
- Bass frequencies shake your floor
Quick Setup Steps:
- Attach shock mount to your mic stand
- Secure your mic in the shock mount
- Add pop filter 2-3 inches from mic
- Test by tapping the stand – you shouldn’t hear thuds
Remember: The best mic setup depends on your voice and style. Experiment with different positions and distances until you find what works for you. Trust your ears – if it sounds good, it is good! 🎧
Creating the Perfect Recording Space
Think of your recording space as your vocal recording studio’s heart. Even a simple bedroom can become a great recording spot with the right setup. Let’s make your space work for you! 🎧
Room Acoustics Basics
Sound bounces around your room like a tennis ball. These bounces (reflections) can either help or hurt your recording. Here’s what happens in typical rooms:
Hard surfaces create problems:
- Walls reflect sound back to your mic
- Windows create harsh echoes
- Hardwood floors add unwanted bounce
- Parallel walls trap sound waves
The good news? You can fix most room problems without spending much money. Start by clapping in different spots in your room. Listen for:
- Sharp, quick echoes (bad for recording)
- Smooth, fast-fading sound (good for recording)
- Hollow, boxy sounds (needs treatment)
Simple Acoustic Treatment Tips
You don’t need expensive foam panels to improve your room sound. Try these budget-friendly fixes:
Instant Room Improvements:
- Hang thick blankets on walls behind your mic
- Put pillows in room corners where sound collects
- Add a carpet or rug to reduce floor reflections
- Place a mattress behind you while recording
Pro Tip: Focus on treating your recording corner first. That’s where you’ll get the biggest improvement for the least effort.
For better sound absorption, try this DIY approach:
|
Material |
Where to Place |
Why It Works |
|---|---|---|
|
Moving blankets |
Walls |
Absorbs mid frequencies |
|
Thick curtains |
Windows |
Blocks outside noise |
|
Couch cushions |
Corners |
Traps bass frequencies |
|
Bookshelf |
Side walls |
Breaks up reflections |
Want to test your room treatment? Try this simple voice test:
- Record a short vocal part before adding any treatment
- Add one piece of treatment at a time
- Record the same part after each change
- Compare recordings to hear the difference
Common room problems solved:
1. Problem: Hollow sound in recordings
Solution: Add soft materials to walls, especially behind the mic
2. Problem: Echo makes vocals sound distant
Solution: Treat the wall behind you first, then side walls
3. Problem: Room sounds too dead (no life in the recording)
Solution: Leave some hard surfaces untreated for natural ambience
Keep drinking water or tea while recording – it helps maintain consistent vocal quality during long sessions. Remember, even professional studios started somewhere. Focus on making small improvements over time.
Setting Up Your Recording Chain
Let’s get your signal chain working perfectly! Think of your recording chain like a relay race – each piece needs to pass the baton (your audio) cleanly to the next. Here’s how to set everything up for crystal-clear vocals.
Audio Interface Settings
Your audio interface converts your voice into digital information. Getting these settings right makes a huge difference in your sound quality.
Essential settings for clean recording:
- Sample Rate: Start with 48kHz for pro-quality audio
- Bit Depth: Use 24-bit for plenty of headroom
- Buffer Size: 128 samples for low latency while recording
Quick Tip: Not sure about your settings? Most interfaces work great at 48kHz/24-bit. It’s like shooting photos in RAW – you get more room to work with later.
Let’s set up your interface step by step:
- Connect interface to computer via USB
- Install latest drivers from manufacturer
- Open your DAW and select your interface
- Set input gain (more on this below!)
Headphone Monitoring Essentials
Good monitoring helps you perform better. Your headphones should:
- Block outside noise to prevent mic bleed
- Stay comfortable during long sessions
- Give you a clear, balanced sound
Monitoring tips that make recording easier:
- Keep one ear partially uncovered to hear your natural voice
- Balance your backing track against your voice level
- Watch out for headphone bleed into the mic
Setting up your headphone mix:
|
What to Listen For |
Why It Matters |
How to Adjust |
|---|---|---|
|
Your direct voice |
Stay in pitch |
Raise direct monitor level |
|
Backing track |
Stay in time |
Lower playback volume |
|
Room noise |
Catch problems |
Listen during quiet sections |
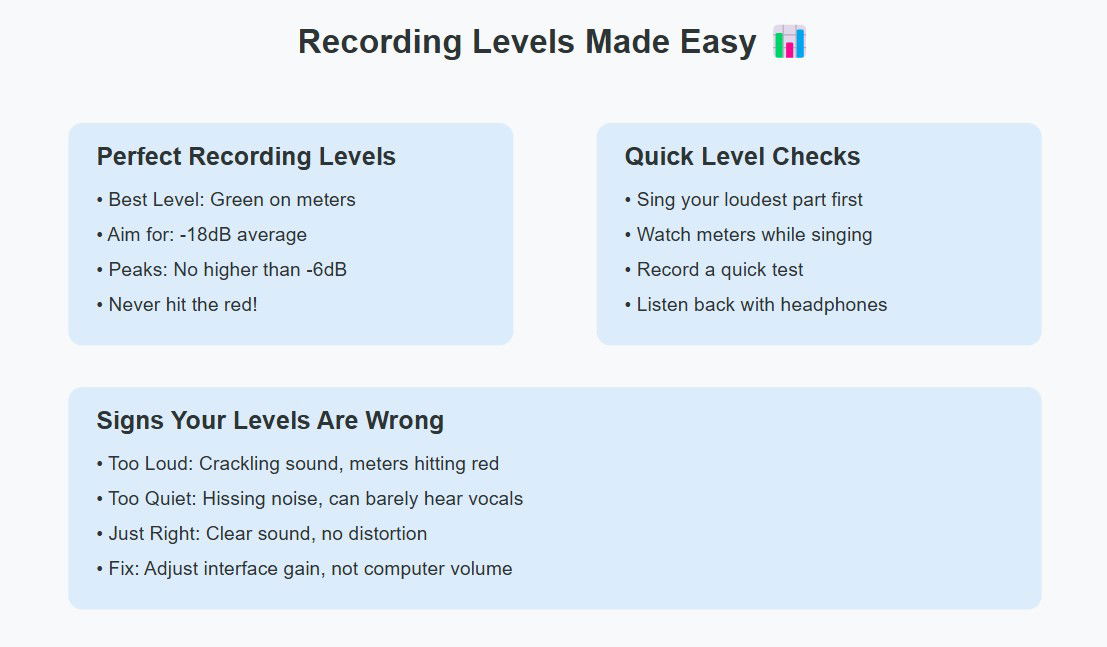
Getting the Right Recording Levels
Here’s where many home recordings go wrong.
The magic numbers for recording:
- Average level: Around -18 dB
- Peaks: No higher than -6 dB
- Never: Above -3 dB (this prevents distortion)
Test your levels with this simple process:
- Sing your loudest part while watching the meters
- Adjust input gain until peaks hit -6 dB
- Sing softer parts to check lower levels
- Record a test and listen for any distortion
Tip: Give yourself some safety room. Better to record a little quiet than risk distortion – you can’t fix clipping later!
Level-setting cheat sheet:
Too low signs:
- Lots of background noise
- Vocal sounds thin
- Have to boost gain later
Too high signs:
- Distorted sound
- Meters hitting red
- Crackling noises
Remember: Your recording chain is only as strong as its weakest link. Take time to get each step right. When in doubt, record a quick test and trust your ears!
Professional Recording Techniques
Now that your setup is dialed in, let’s explore some pro techniques that’ll take your recordings to the next level. These methods help capture your best performance while avoiding common recording pitfalls.
Using Compression While Recording
Compression helps control your dynamics while recording. Think of it like an automatic volume control that keeps your loud and soft notes balanced. While many singers add compression during mixing, recording with light compression can help capture better takes.
Start with these basic compression settings:
- Ratio: 2:1 to 3:1 for gentle control
- Attack: 10-20ms to let through initial sound
- Release: 50-100ms for natural decay
Adding compression during recording requires careful setup. Always record a few test takes first. Listen for problems like pumping sounds or loss of dynamics. If you hear these issues, reduce the compression amount or save it for mixing instead.
Many audio interfaces include built-in compression. However, consider this warning: once you record with compression, you can’t remove it. When in doubt, record clean and add compression later during mixing.
Recording in Sections vs Full Takes
Should you record your song in full takes or break it into sections? The answer depends on your song and style. Let’s explore both approaches.
Benefits of full takes:
- More natural energy flow
- Better emotional connection
- Consistent sound throughout
Recording full takes feels more natural, but it demands more stamina and consistency. Practice your song thoroughly before hitting record. Keep water nearby and take short breaks between takes to maintain vocal freshness.
For complex songs, recording in sections often works better. Here’s why:
- Easier to nail difficult parts
- Less vocal fatigue
- Quicker to get perfect takes
The key to successful section recording is maintaining consistent tone and energy across takes. Mark your lyrics to show where sections start and end. This helps you maintain the same feeling when you punch in new takes.
Tip: Record transitions between sections separately. You can use these to smooth out any noticeable changes between takes during editing.
Double Tracking Vocals
Double tracking means recording the same part twice to create a fuller sound. It’s a classic technique used in many styles of music. However, it requires practice to get right.
Steps for perfect double-tracking:
- Record your main vocal track first
- Listen back and practice matching it exactly
- Record your double while listening to the main track
- Keep the same mic position and settings
Many beginners make the mistake of recording doubles too differently from their main take.
Remember this: the goal is to enhance your main vocal, not compete with it. Think of your double track as a shadow of your main vocal.
Tips for natural-sounding doubles:
- Stay consistent with your timing
- Match your pitch precisely
- Keep the same distance from the mic
- Use the same mic and settings
Sometimes slight variations make doubles more interesting. Try these creative double tracking ideas:
- Record one take slightly softer
- Change your vocal tone slightly
- Add subtle effects to one track
- Pan doubles left and right
Test different double tracking approaches with a short section of your song. Listen back with headphones to check how the doubles blend. If something sounds off, try another take. The magic happens when both tracks work together seamlessly.
Quick Solutions for Mobile Recording
Can’t access your home studio? No problem! Your smartphone can capture great vocals when you’re on the go. Modern phones pack surprisingly good recording capabilities – let’s make the most of them.
Best Apps for Vocal Recording
Your phone’s built-in voice recorder works in a pinch, but dedicated recording apps offer more control and better sound quality. Here’s what to look for in a recording app:
- Adjustable input gain
- WAV file recording option
- Basic editing tools
- Easy file sharing
Different phones need different apps. Take time to test a few options and find what works best with your device. Many professional recording apps offer free versions – perfect for trying before buying.
Quality recording apps make a huge difference in your sound. They give you features like:
- Input level meters
- Multiple track recording
- Basic effects processing
- File format options
But remember – even the best app can’t fix a noisy recording environment. Focus on finding a quiet spot first, then open your recording app.
Smartphone Recording Tips
Your phone’s microphone can pick up great sound with the right technique. Think of your phone like a tiny studio – position and environment matter just as much as with professional gear.
Start with these phone recording basics:
- Clean your phone’s microphone opening
- Remove your phone case if it covers the mic
- Switch to airplane mode to avoid interference
- Check your storage space before recording
Finding the sweet spot for phone recording takes practice. Try this test: Record the same phrase at different distances from your phone. Listen back with headphones to find the distance that captures your voice clearly without distortion.
Common phone recording problems:
When your recording sounds thin:
- Move closer to the phone
- Cup your hands around the mic
- Use a makeshift pop filter
Got too much room sound?
- Record under a blanket
- Try your car (when parked!)
- Use closets with hanging clothes
Pro Tip: Most phones work best when positioned 6-8 inches from your mouth at a slight angle. This helps avoid plosives (those popping P and B sounds) while capturing full sound.
After Recording: Essential Steps
Great, you’ve captured your vocals! Now let’s make sure those recordings stay organized and ready for mixing.
Managing Your Takes
Good take management saves time and prevents headaches later. Start organizing your recordings right after you finish:
Create a simple naming system for your takes:
- Song name
- Take number
- Section label (if needed)
- Date
Example: “MySong_Take3_Chorus_0126”
This might seem like extra work, but it pays off when you’re looking for that perfect take later. Keep a quick note about each take – what you liked or what needs fixing. These notes help tremendously during editing.
Basic Vocal Editing Tips
Before diving into heavy editing, try these simple cleanup steps:
First pass editing:
- Remove any unwanted noise before the singing starts
- Cut out coughs or mistakes between phrases
- Fade the ends of each clip to avoid clicks
- Check for background noise during quiet parts
Editing requires careful listening. Use good headphones and take breaks to keep your ears fresh. Small issues you might want to fix:
- Loud breaths between phrases
- Mouth clicks or pops
- Room noise in pauses
- Microphone bumps
Remember this golden rule: If you can’t hear a problem in the mix, don’t fix it. Over-editing can make vocals sound unnatural and robotic. Trust your ears and keep the human element in your recordings.
Quick editing checklist:
- Listen for timing issues
- Check pitch accuracy
- Remove unwanted noises
- Balance levels between sections
Save multiple versions of your edited vocals. Keep your original recordings safe – you never know when you might need them again! 💾
Ready to Start Recording? 🎤
Recording vocals at home might seem overwhelming at first, but you now have all the tools and knowledge to capture professional-quality sound.
Start with the basics: set up your mic correctly, treat your room with what you have, and focus on consistent recording techniques. Remember, even professional studios started somewhere – your first recordings might not be perfect, but they’ll improve with each session.
The most important step? Getting started. Grab your mic, follow these guidelines, and start recording!